
 Let’s discuss some big events, shall we? My high school graduation, this blog’s not 1st, not 2nd, but 3rd! birthday… and throwing-in of the towel by the hard drive that houses oh, thousands on thousands on thousands of photos. In my defense, they’re not all mine, but you better believe there are many blurry, unfocused, repeat shots of food. Didn’t you know you always wanted 15 near-identical shots of blurry muffins? Yes, you’re welcome, family.
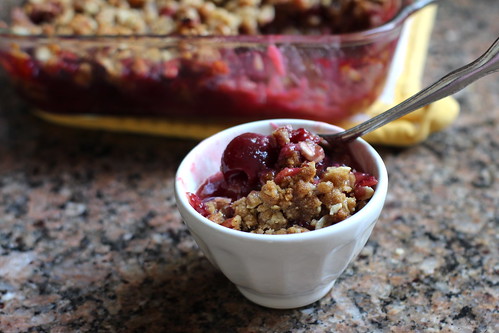
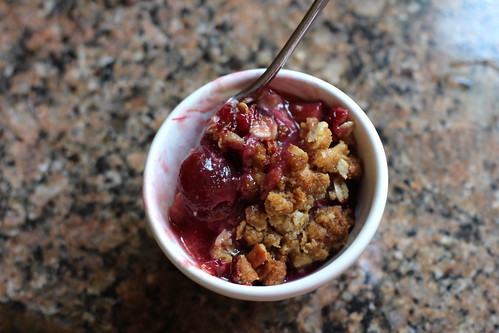
 But the reason I bring this up is just to say that you were supposed to have this tantalizing cherry rhubarb crisp in front of your eyes about a week ago, but the hard drive up and quit. How rude. After some boring file transfers to an external drive (thanks Dad), you get crisp at last.

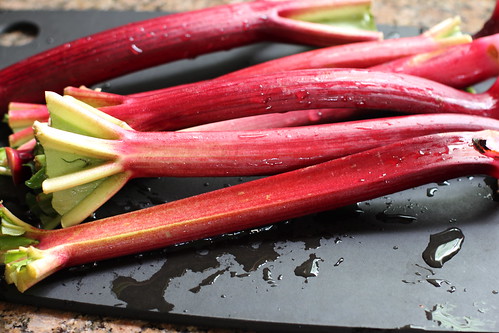
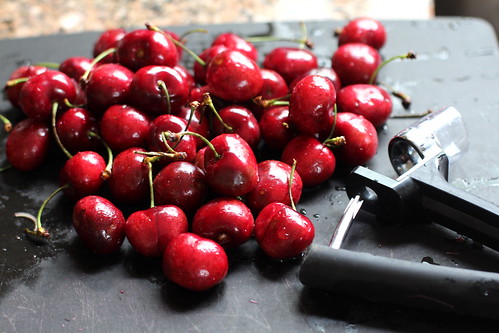
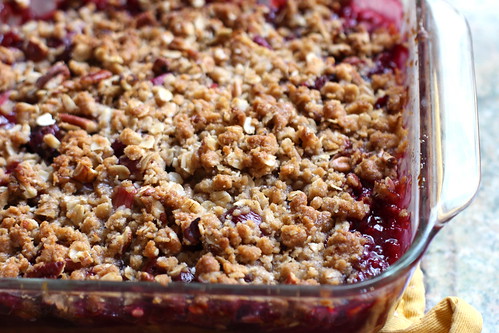 And a delightful crisp this is. I hacked Mark Bittman’s recipe for straight-up rhubarb crisp, primarily because I just didn’t have enough rhubarb, instead adding fresh cherries. I’m so glad I fiddled, because this crisp is just on point. The crisp topping itself is bountiful (great news if you’re like me and try to inconspicuously pick the tasty toppings off food) and perfectly crisp-y and crunchy atop the pretty reddish-pink fruit. Notes of lemon, cinnamon, and ginger round it out but don’t take over the poor fruit. If you like cherries, if you like rhubarb, if you like crisps, if you like eating, make this.

Cherry Rhubarb Crisp
heavily adapted from Mark Bittman’s Rhubarb Crisp via the New York Times
The major change I made was to swap cherries for half of the rhubarb, which created a delightful balance of texture and complemented the rhubarb quite well. Other changes included swapping ground ginger (which plays so nicely with rhubarb) for half of the cinnamon, adding more salt, increasing the amount of lemon zest, adding 2 tablespoons more sugar (you could omit if desired), and adding cornstarch to the fruit to thicken it up a bit. Feel free to fiddle with this recipe, I certainly did.
Topping
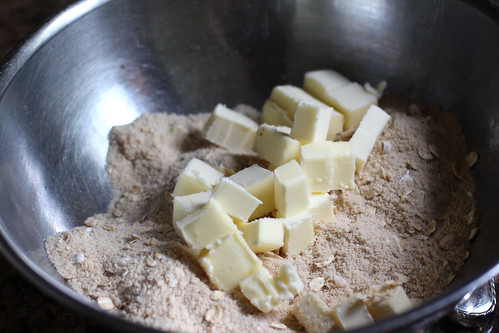
6 tablespoons cold butter, cut into small pieces, plus more for greasing pan
3/4 cup brown sugar
1/2 cup all-purpose flour
1/4 teaspoon cinnamon
1/4 teaspoon ground ginger
1/4 teaspoon kosher salt
1/2 cup rolled oats
1/2 cup pecans, roughly chopped
Fruit
1 1/4 pound rhubarb, trimmed, tough strings removed, and cut into 1 1/2-inch pieces (about 3 1/2 cups)
1 1/4 pound cherries, pitted (about 3 1/4 cups)
1/4 cup plus 2 tablespoons white sugar
2 tablespoons cornstarch
1 tablespoon lemon juice
2 teaspoons lemon zest
Heat oven to 375° F. Grease an 8- or 9-inch square baking or gratin dish with a softened butter.
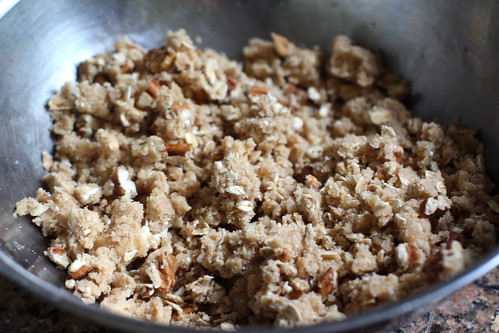
In a medium bowl, mix together the brown sugar, flour, cinnamon, ginger, and salt. Toss in the cubes of butter, and work the butter in with your fingertips or a pastry blender until it resembles peas and just begins to clump together roughly. Add oats and pecans and mix in to combine.
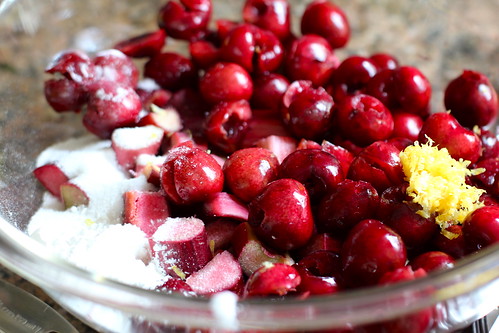
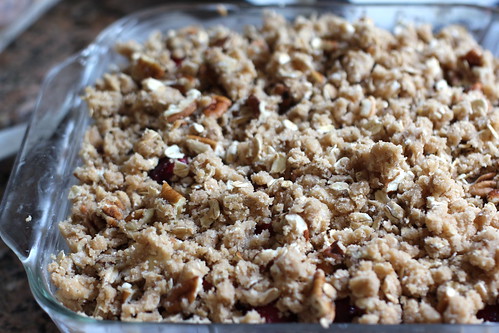
Toss rhubarb and cherries with white sugar, cornstarch, lemon juice and zest, and spread in baking dish.
Crumble the topping over rhubarb and cherries and bake until the topping is deep golden and the fruit is tender and bubbling, 40 to 45 minutes. Let cool for as long as you can stand until devouring.


 I’ve procured the online, clean, sanitary version via Ms. Stewart, yet it unfortunately contains none of my messy penciled-in notes as on the dingy tangible copy. So I’ve tried to recall the exact substitutions I made–using the meager 1/2ish cup of peanuts and then chopped walnuts for the remainder, chopped milk chocolate, bittersweet chunks–and for now, that’s the most I can remember. Clearly, some spring cleaning is needed. When I find


